Falke 'Modified' WIP - Completed!
+3
glimturen
TommyKillander
tiking
7 posters
Sida 2 av 4
Sida 2 av 4 •  1, 2, 3, 4
 Sv: Falke 'Modified' WIP - Completed!
I have now glued the two halves together but if you look below, you will see that it did not go together at first. I was forced to glue the rear half first, then used a clamp to hold down the front end of the cockpit section so it would be able to glue together. I left it for a day just to be sure. I used super glue for this, as to be sure it will not come apart. I have heard about the two halves not mashing up correctly.

tiking- De slitna lastbilarnas mästare
 Sv: Falke 'Modified' WIP - Completed!
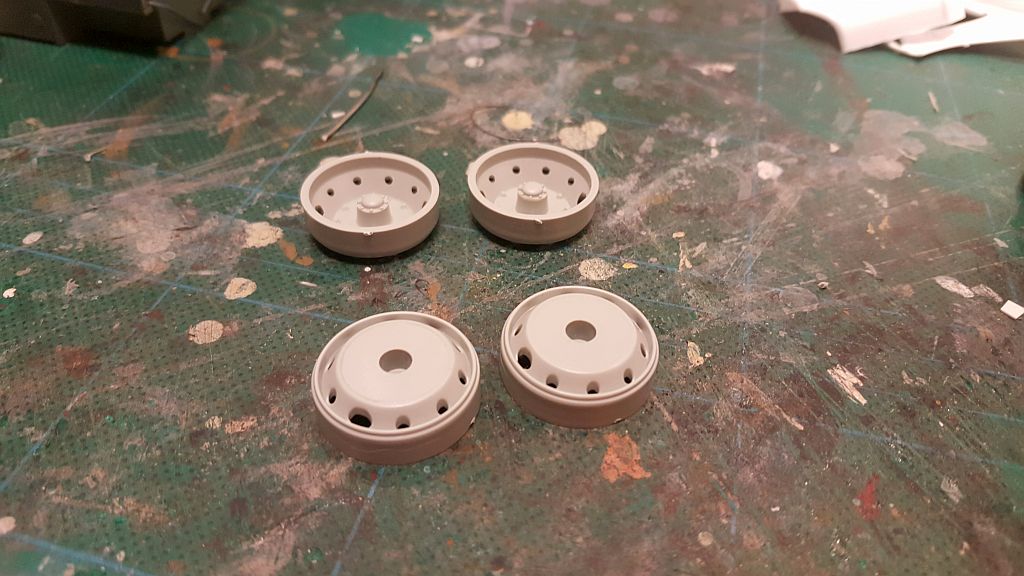
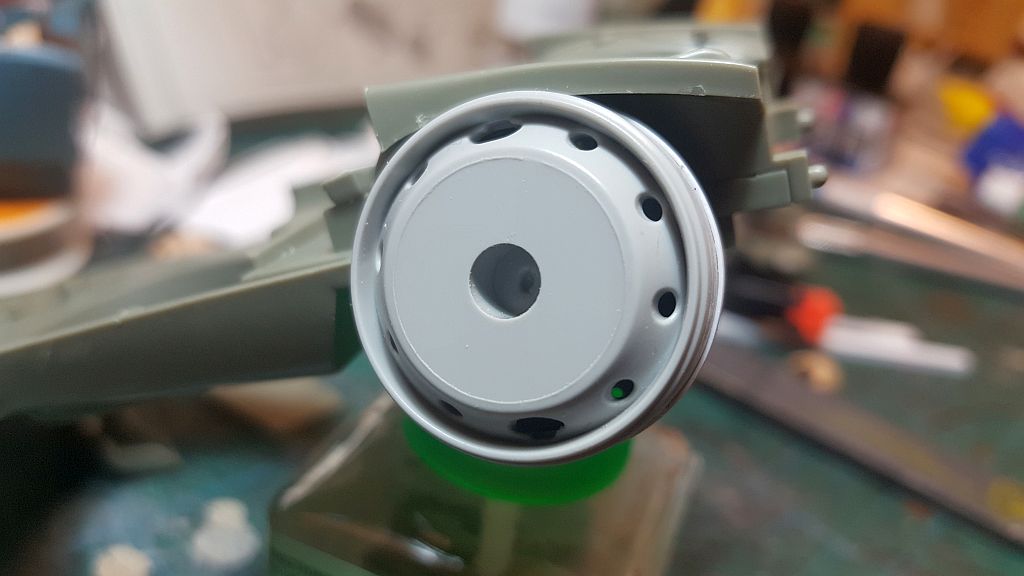
Below pic shows two wheel rims I will used to connect the two side engines of the Falke, I sawed off in the in the beginning stages of the build. This will act as a support mount to attach the engines. I added styrene piece to the seams of the rims to better hide it. I think it looks good. The equal distance of the small round holes , gives a it a nice look too. Now, I have been contemplating to use magnets for attaching the engines. The advantage, is that I can attach the engines whenever I like and remove them, whenever I feel like. Also, it makes it easier to adjust them so they are level. I will dwell a little more.



tiking- De slitna lastbilarnas mästare
 Sv: Falke 'Modified' WIP - Completed!
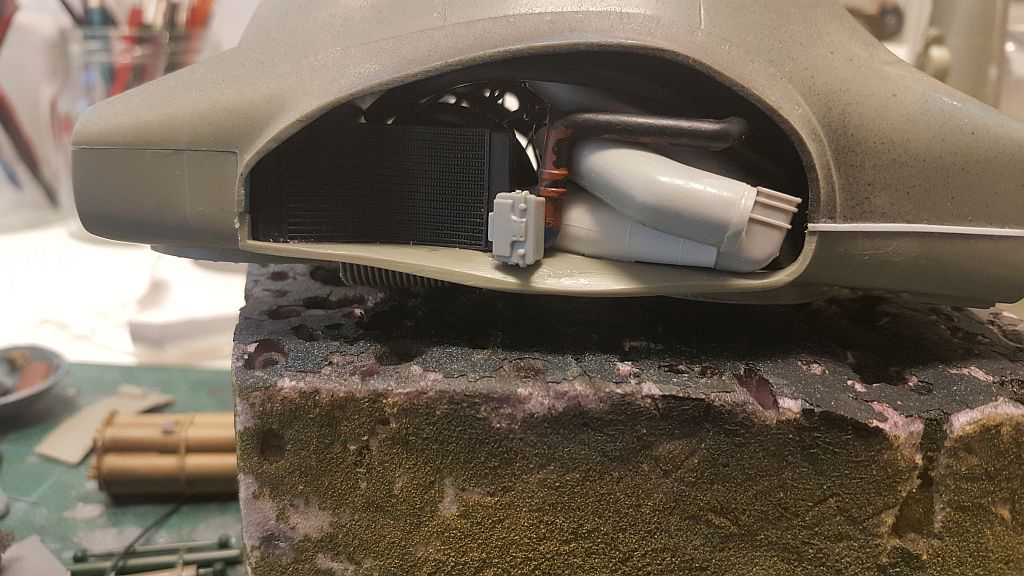
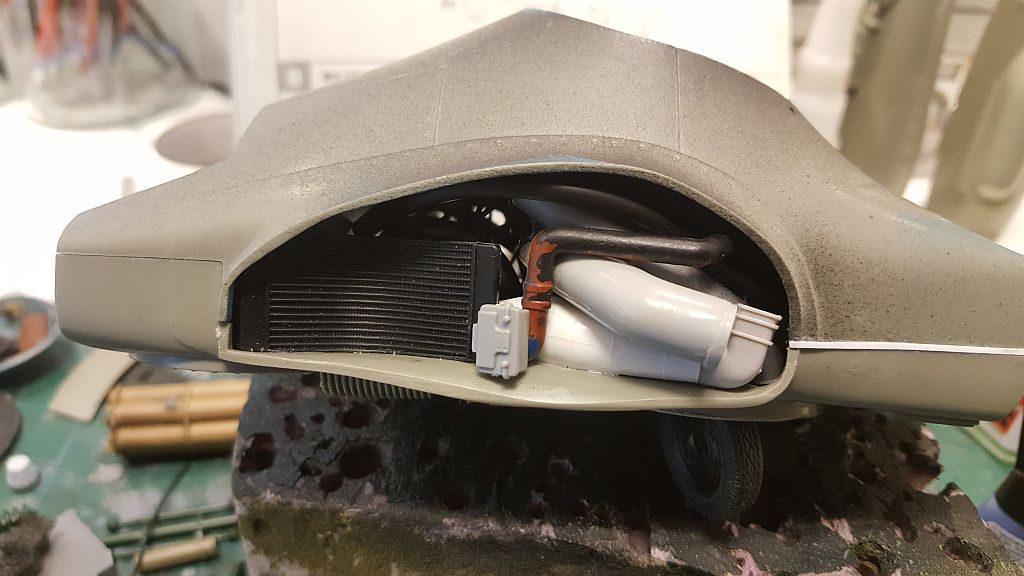
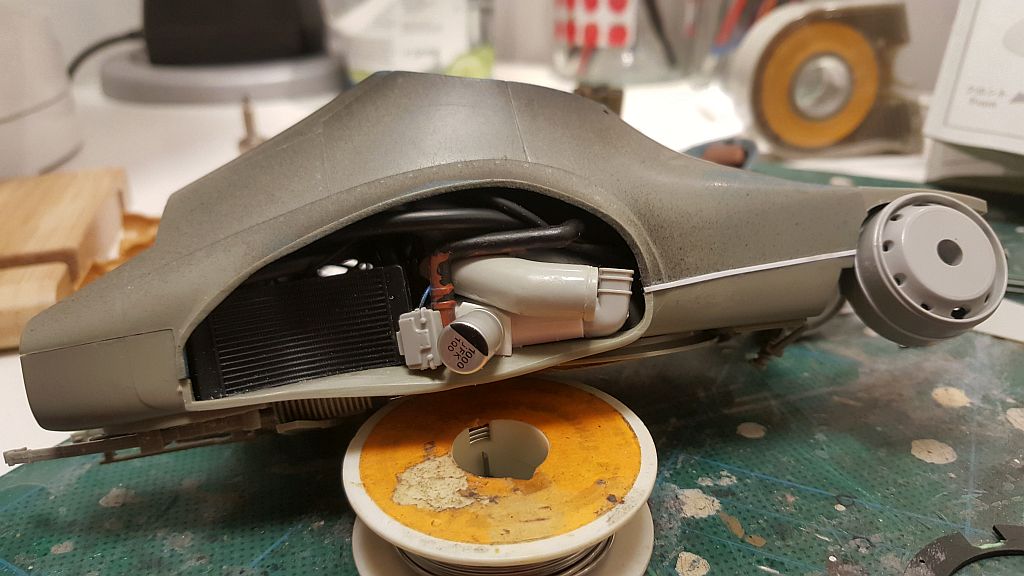
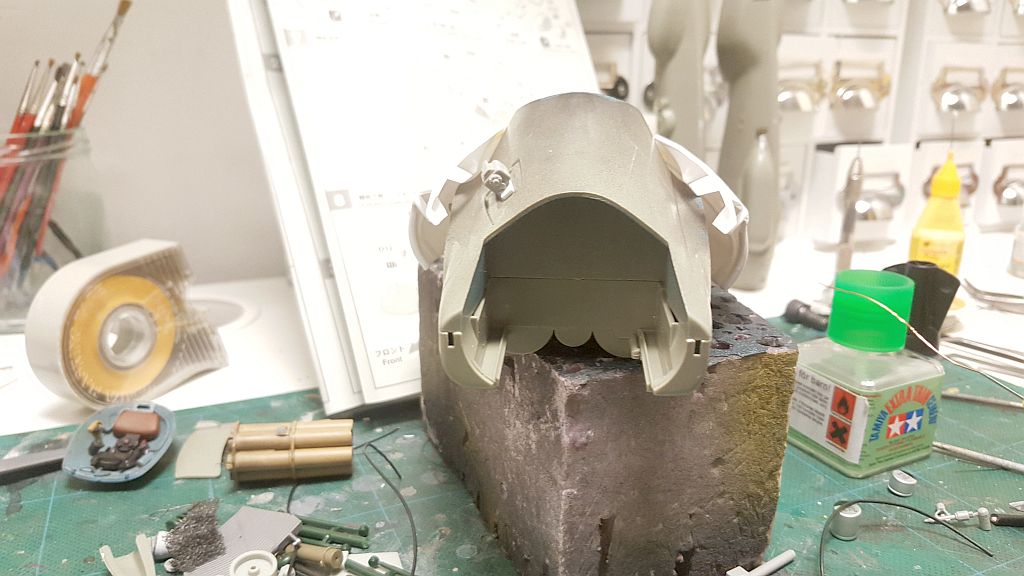
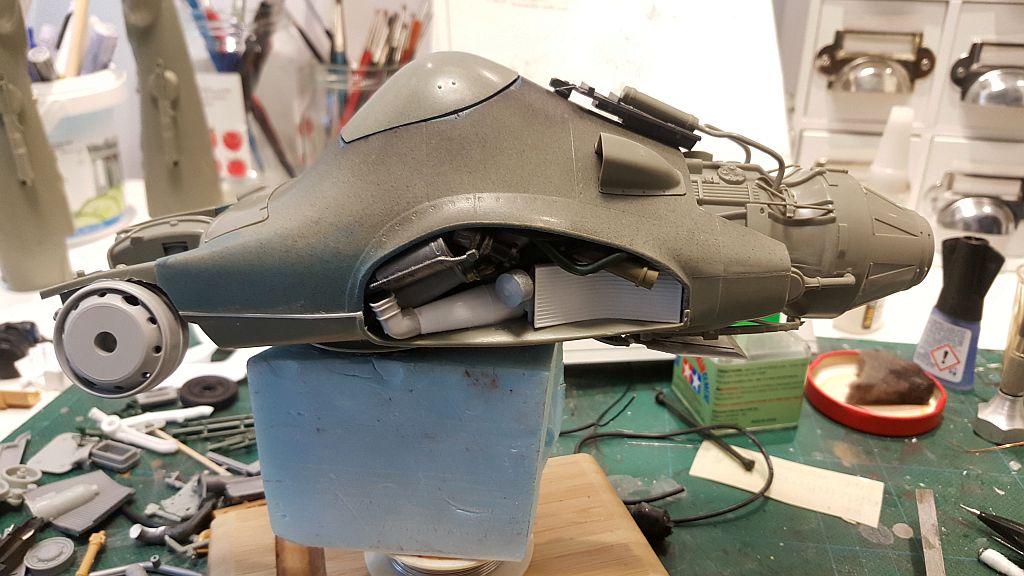
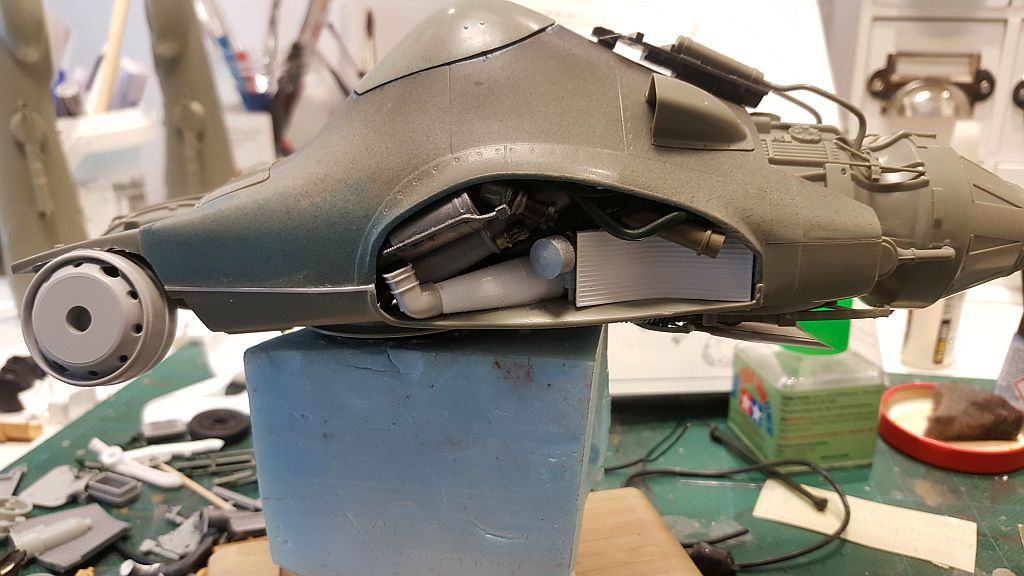
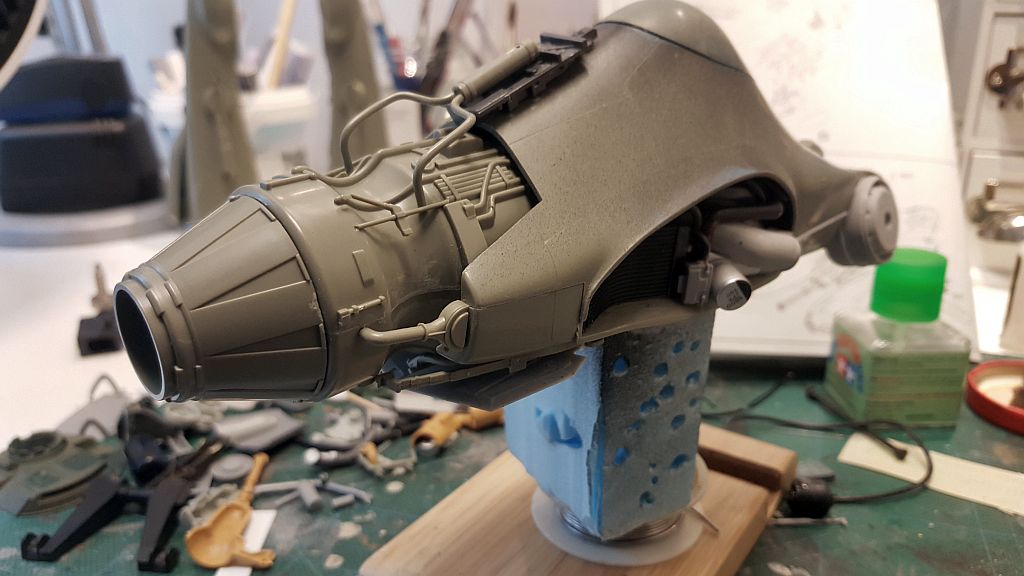
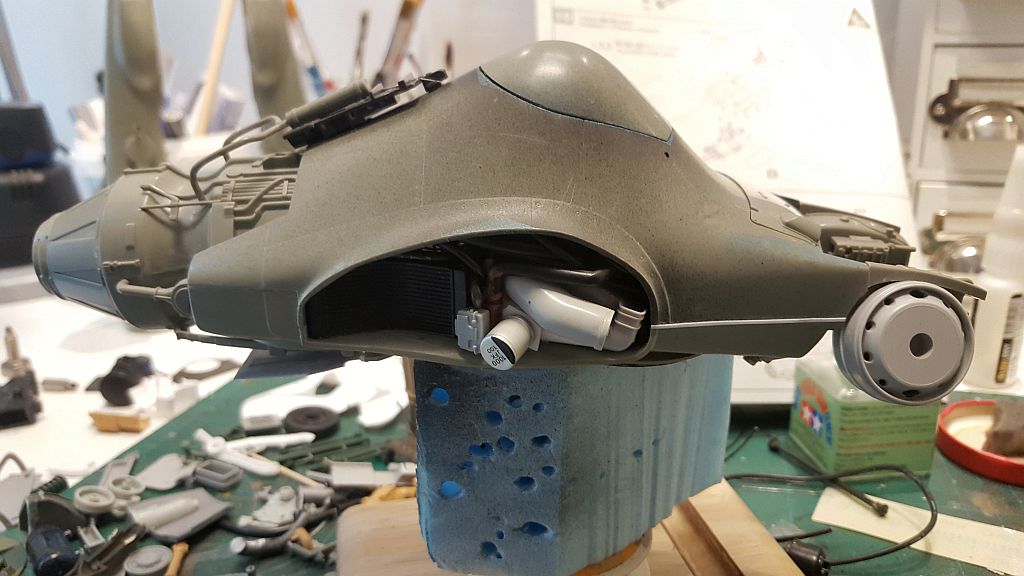
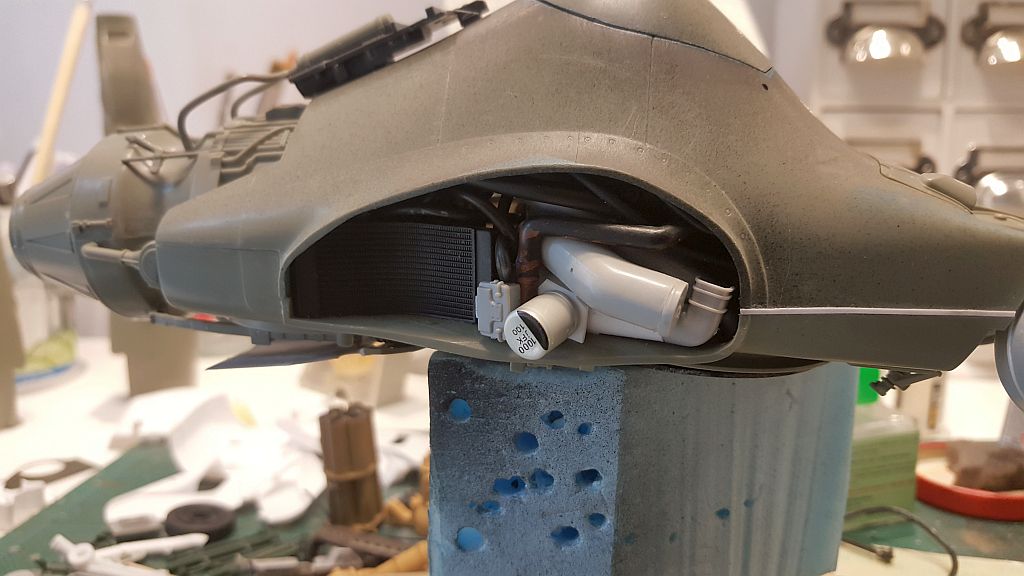
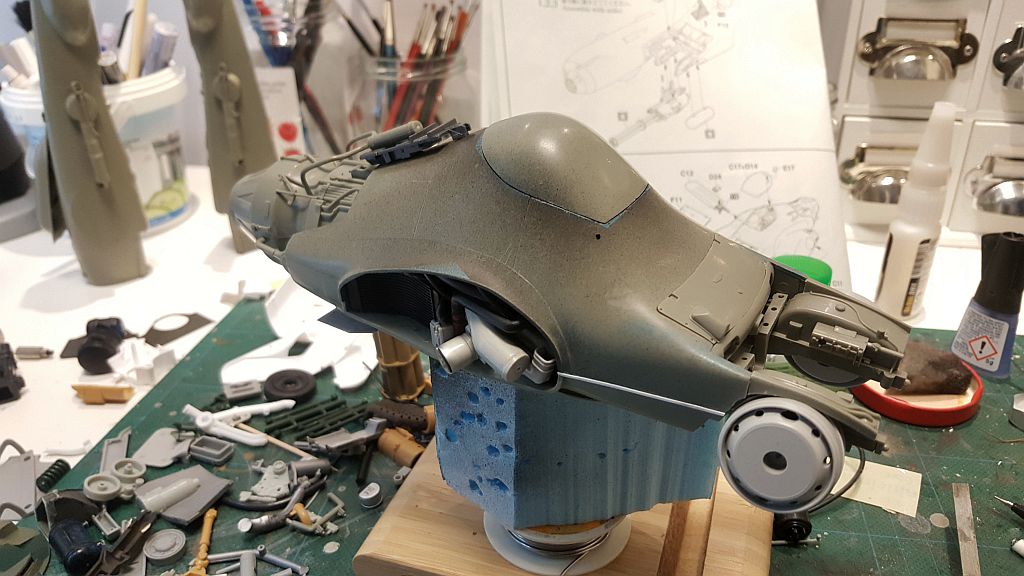
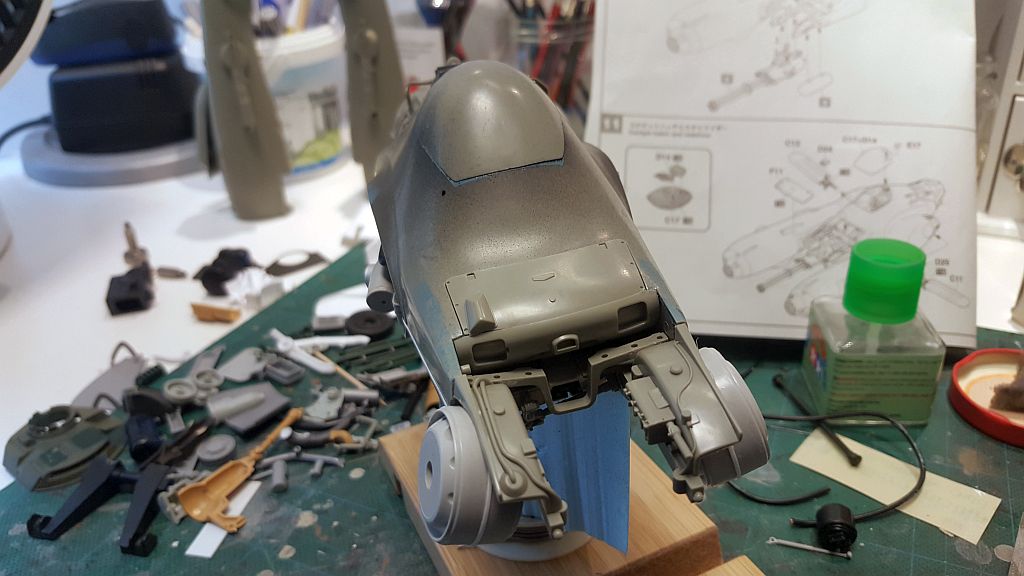
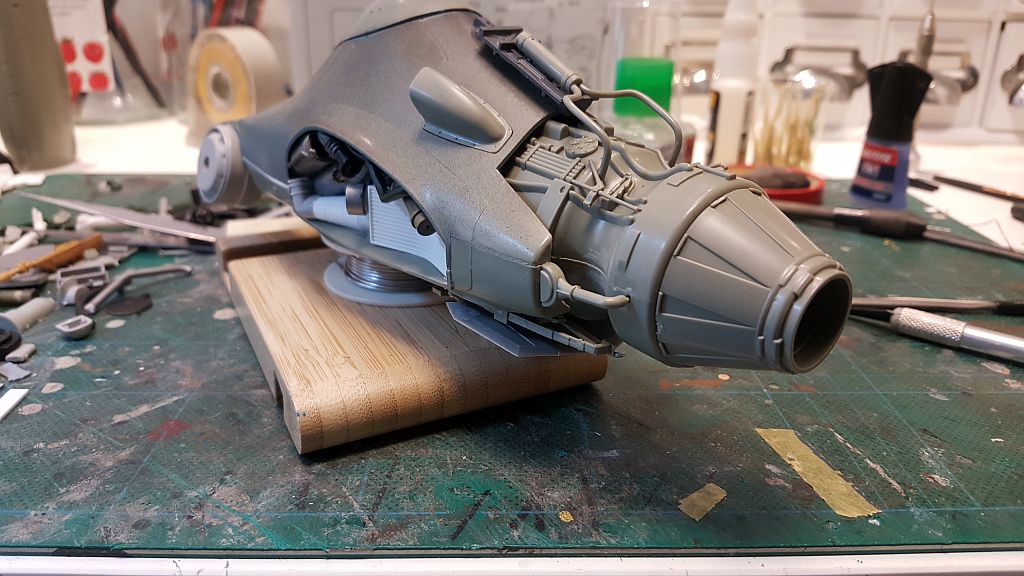
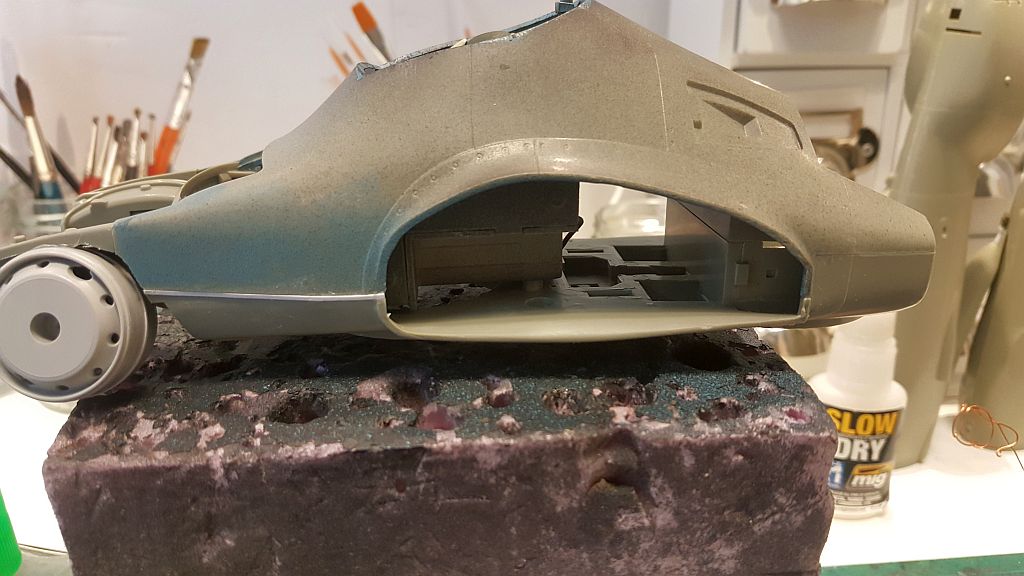
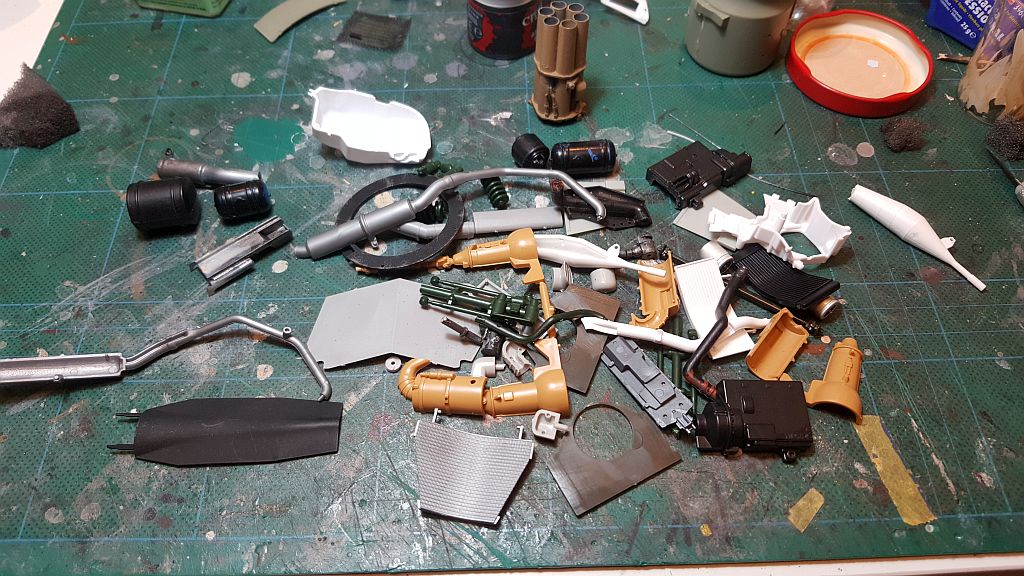
Now, since removing the side engines, I have a big opening to fill up. So I decided, I will add odds and ends to give the impression of a busy looking internal machinery. This is how the opening looks like now:
--------------------------------------------------------------------------
Now I will try and put most of all these 'odds & ends', into that space:

--------------------------------------------------------------------------
Now I will try and put most of all these 'odds & ends', into that space:


tiking- De slitna lastbilarnas mästare
 Sv: Falke 'Modified' WIP - Completed!
Senast ändrad av tiking den ons dec 20 2017, 16:15, ändrad totalt 1 gång
tiking- De slitna lastbilarnas mästare
 Sv: Falke 'Modified' WIP - Completed!
The underside of the Falke. If you remembered, I sawed off the dome that was where that big hole is right now. I could have let it stayed in all honesty, but I have a thing about a flat base under a craft, when it comes to pods or anti gravitational vehicles. It does not look right in my eyes. But that's just me. 
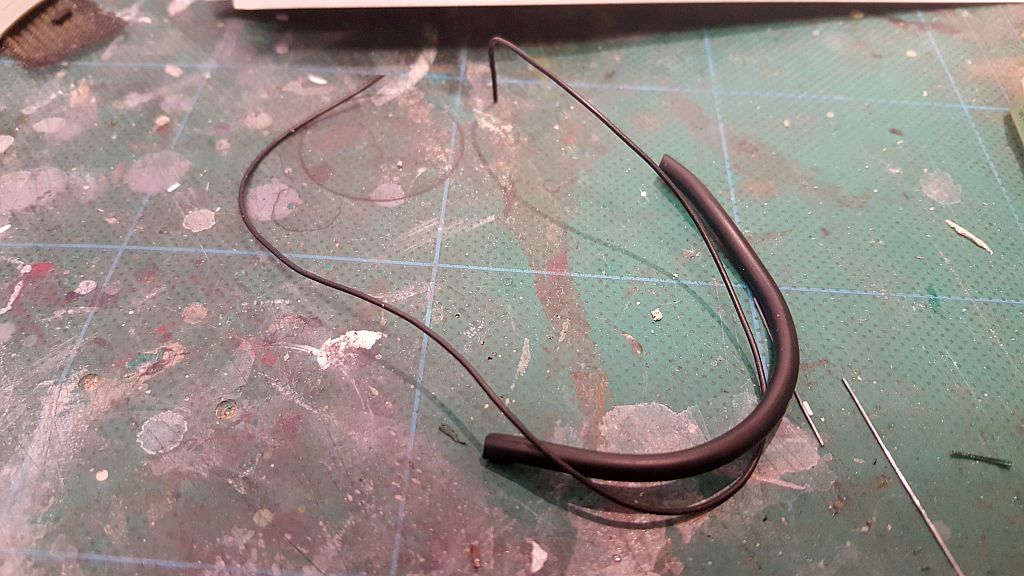
The black ring below, was taken from an old 1/35 vehicle kit:
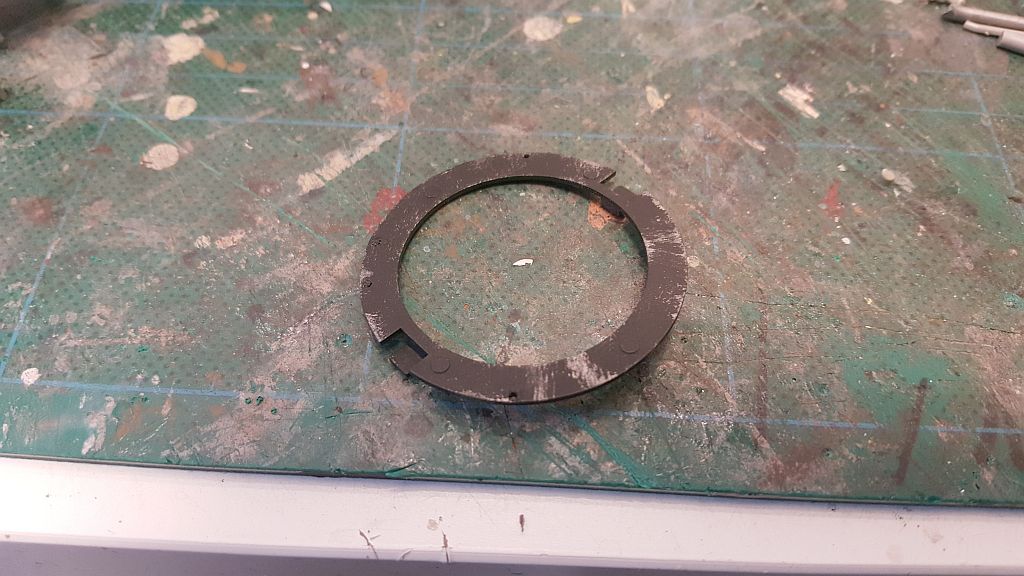
I will be detailing this a bit to give it the robust look:
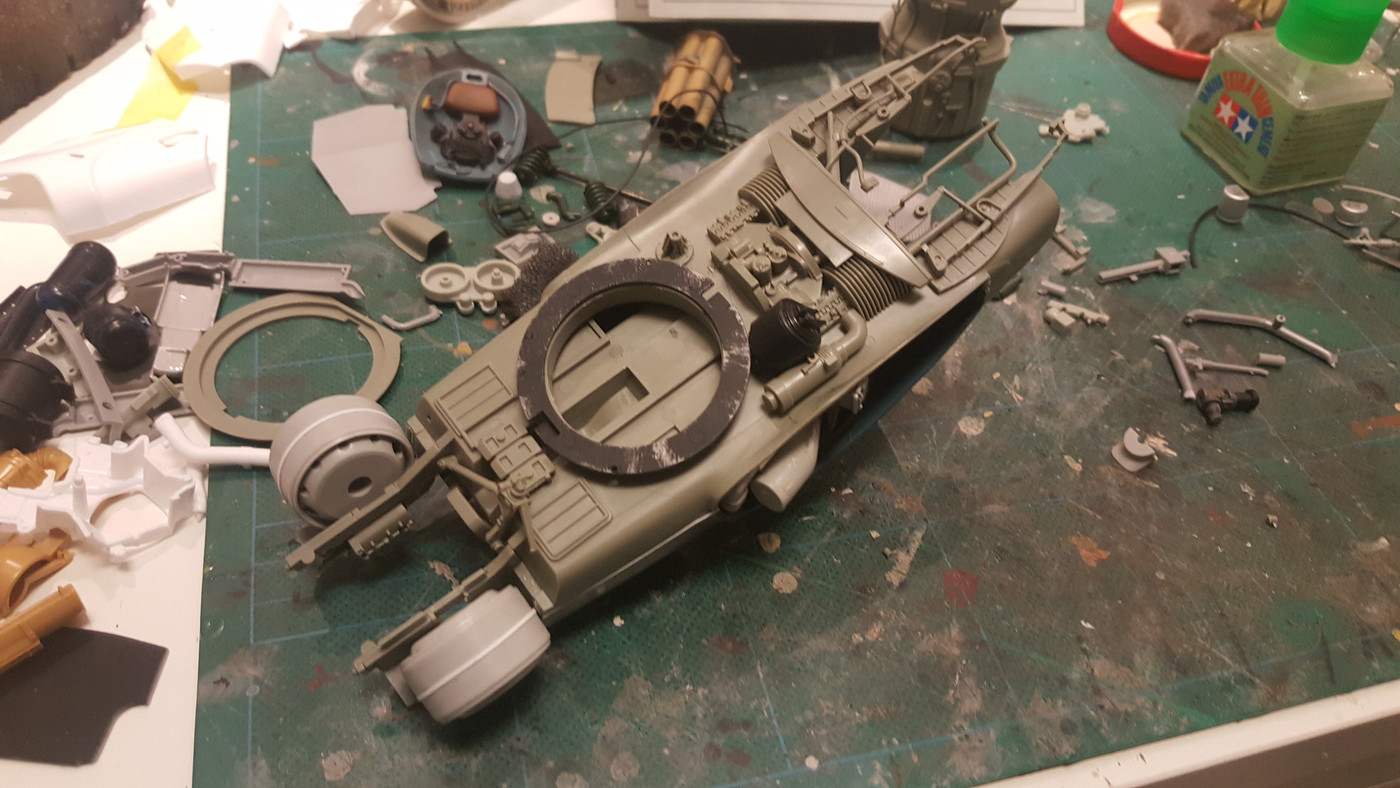
The black ring below, was taken from an old 1/35 vehicle kit:

I will be detailing this a bit to give it the robust look:

tiking- De slitna lastbilarnas mästare
 Sv: Falke 'Modified' WIP - Completed!
Absolutely wonderful jobb !!!!
a mix of model work and indoor plumbing


//Kent
a mix of model work and indoor plumbing
//Kent

Gigabyte
 Sv: Falke 'Modified' WIP - Completed!
Häftigt! In med lite gammalt junk, lim och skaka! 
Ser riktigt fräckt ut! Bra Jobbat!
Ser riktigt fräckt ut! Bra Jobbat!

glimturen
 Sv: Falke 'Modified' WIP - Completed!
Stefan E skrev:Underbart bygge, Charles!


Stefan
Tack Stefan.
tiking- De slitna lastbilarnas mästare
 Sv: Falke 'Modified' WIP - Completed!
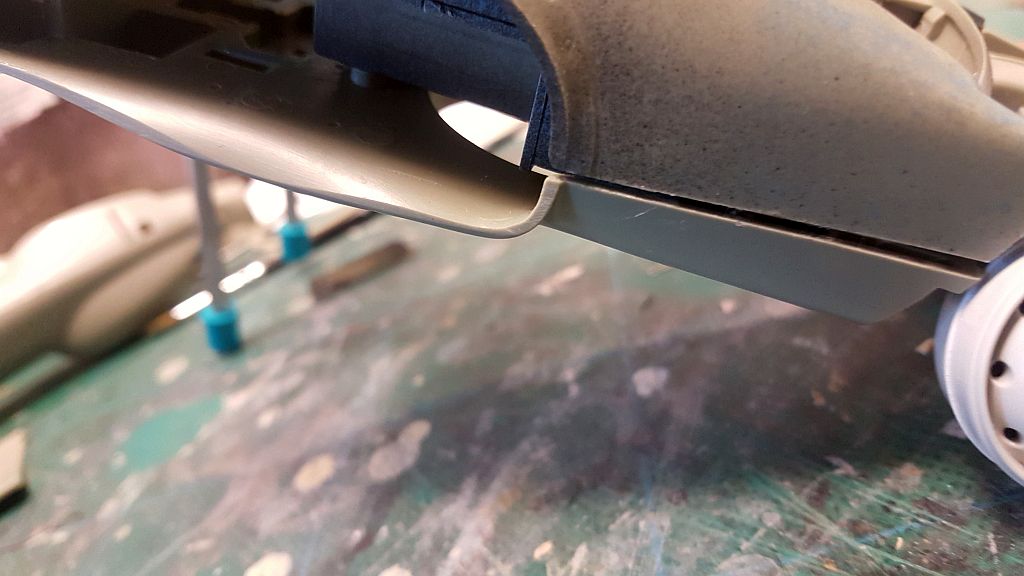
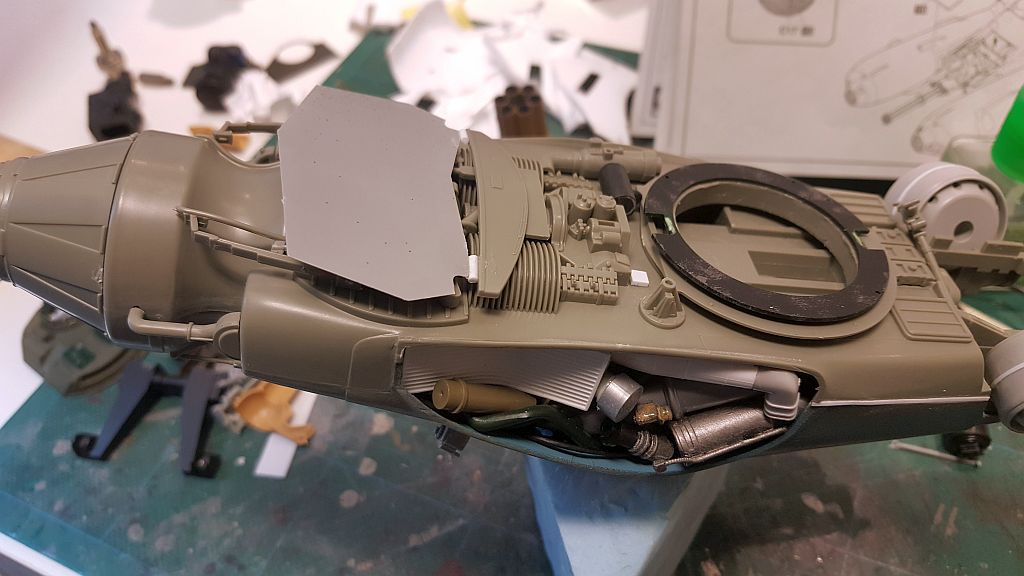
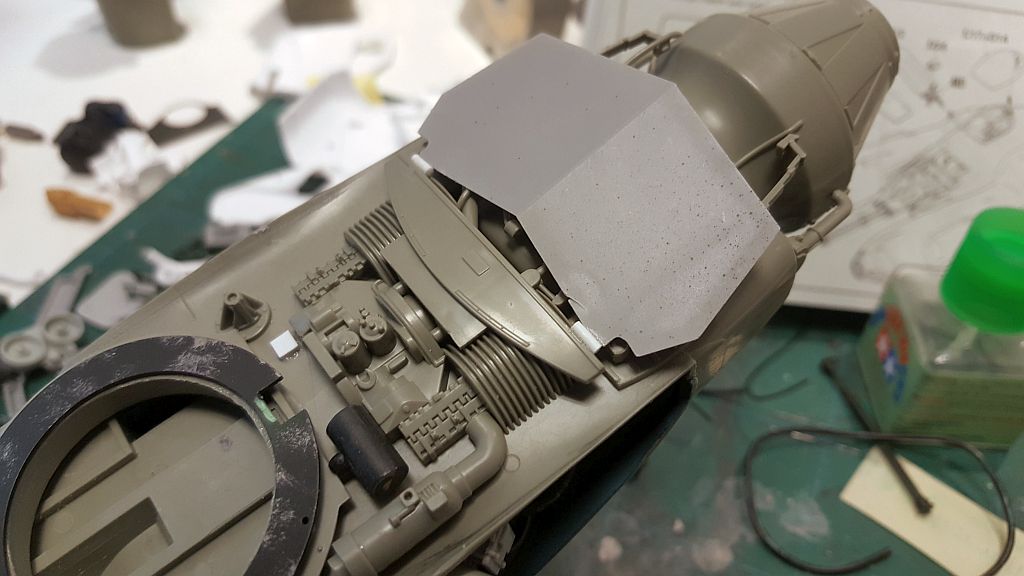
I added several different parts to the undercarriage of the craft. The flat angular piece is from a LAV kit. As you can see, I removed the original dome(anti-gravity) part that was originally there. As I explained in my very first post, I used a hand saw to remove it. I added a flat ring piece and will add another flat piece to cover the hole.


tiking- De slitna lastbilarnas mästare
 Sv: Falke 'Modified' WIP - Completed!
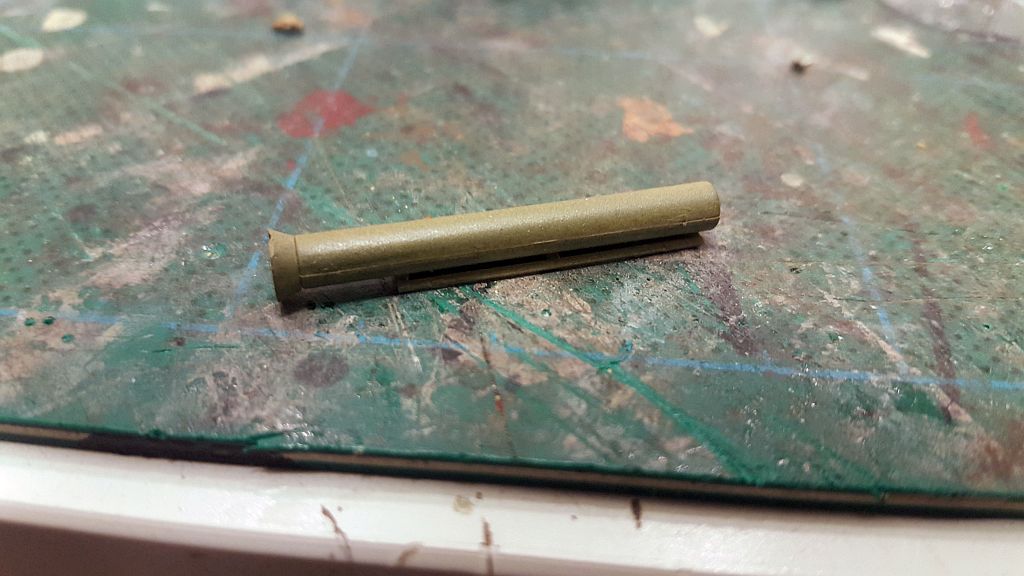
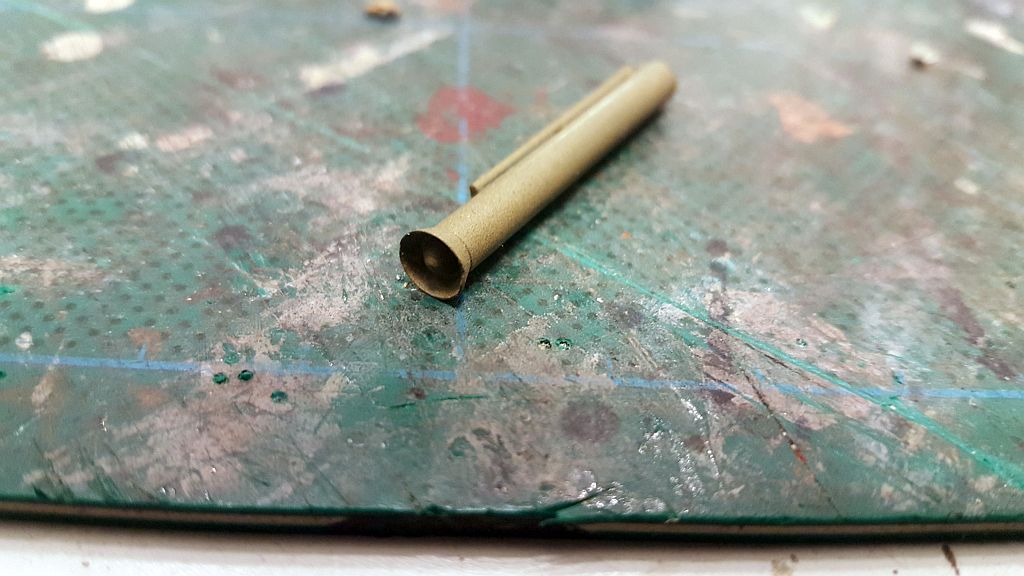
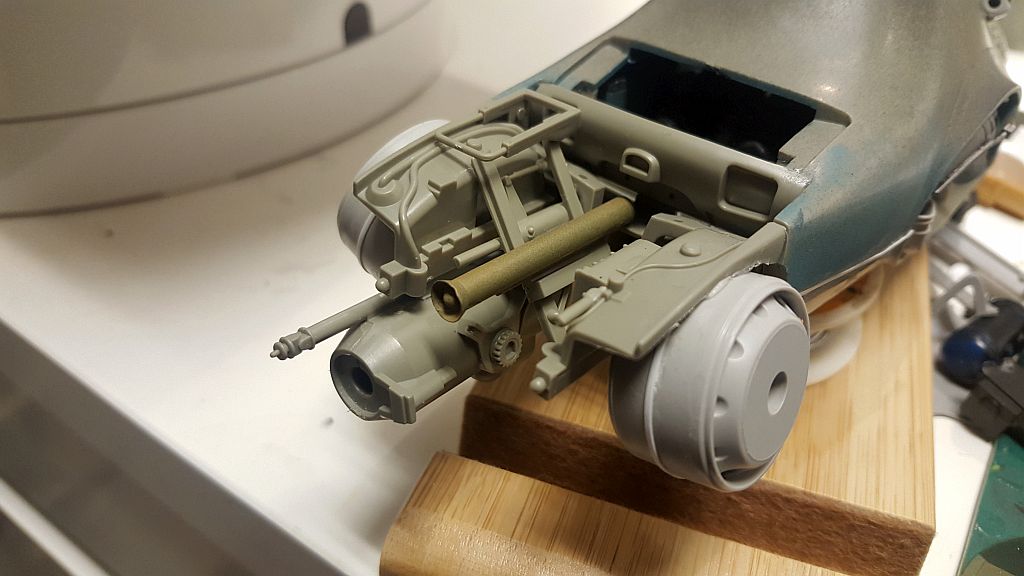
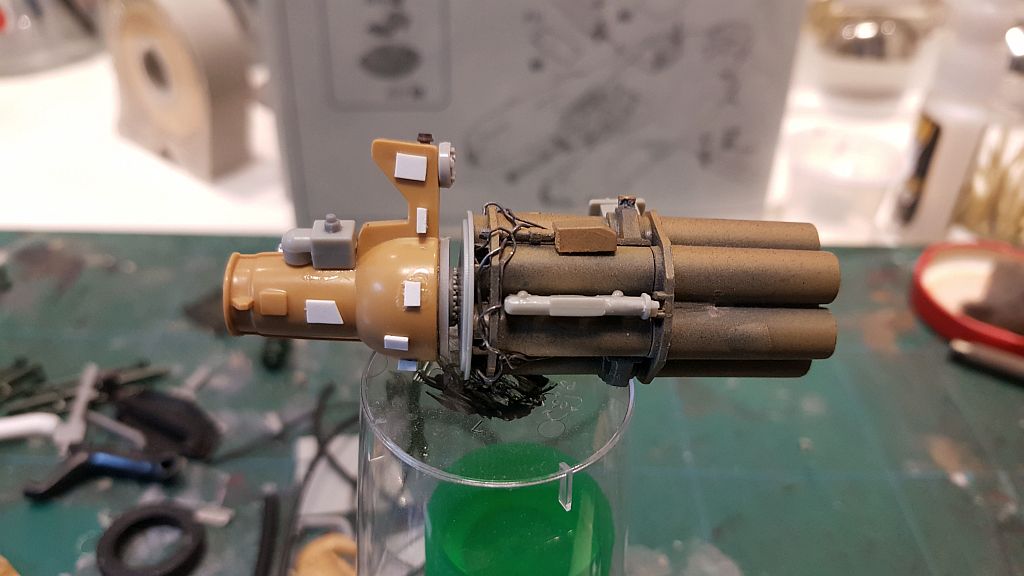
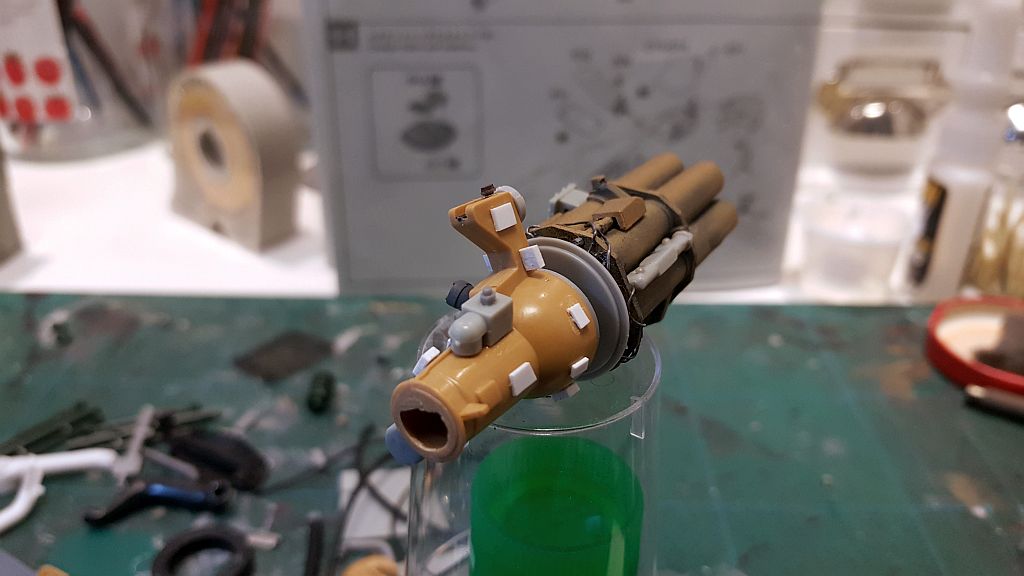
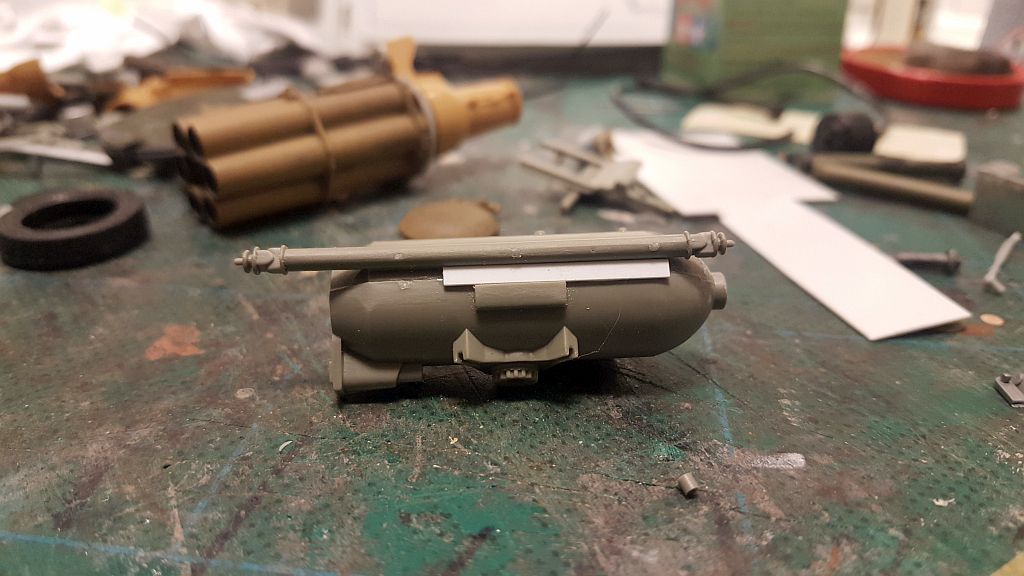
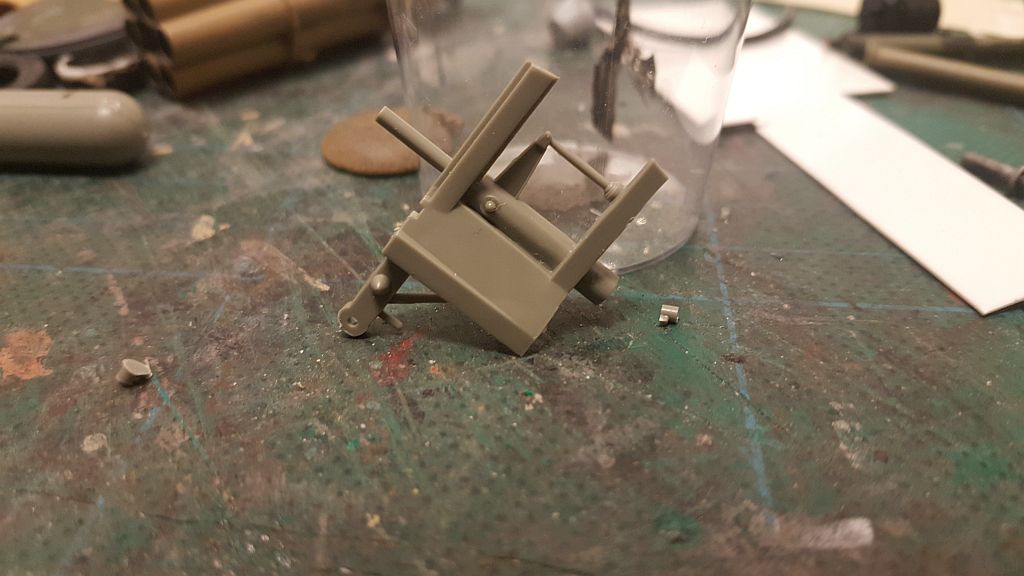
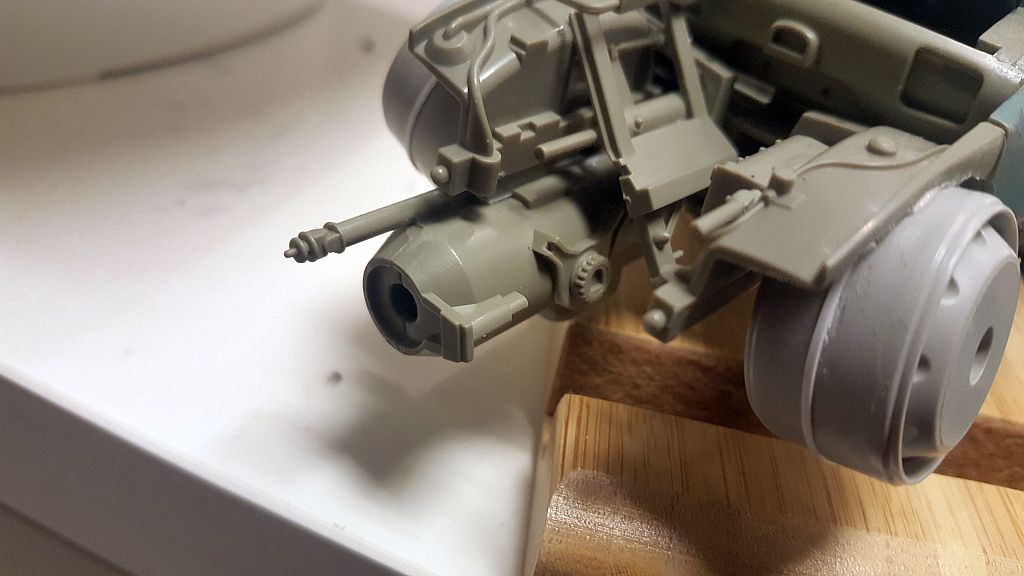
The first pic shows the gun canister or barrel(unsure), Now since I added the wheel rims, it has taken up space to where the original parts were suppose to go, according to the instructions. So I had to had a strip of styrene to cover the holes, so it would be easier to glue the piece in the same space.





tiking- De slitna lastbilarnas mästare
 Sv: Falke 'Modified' WIP - Completed!
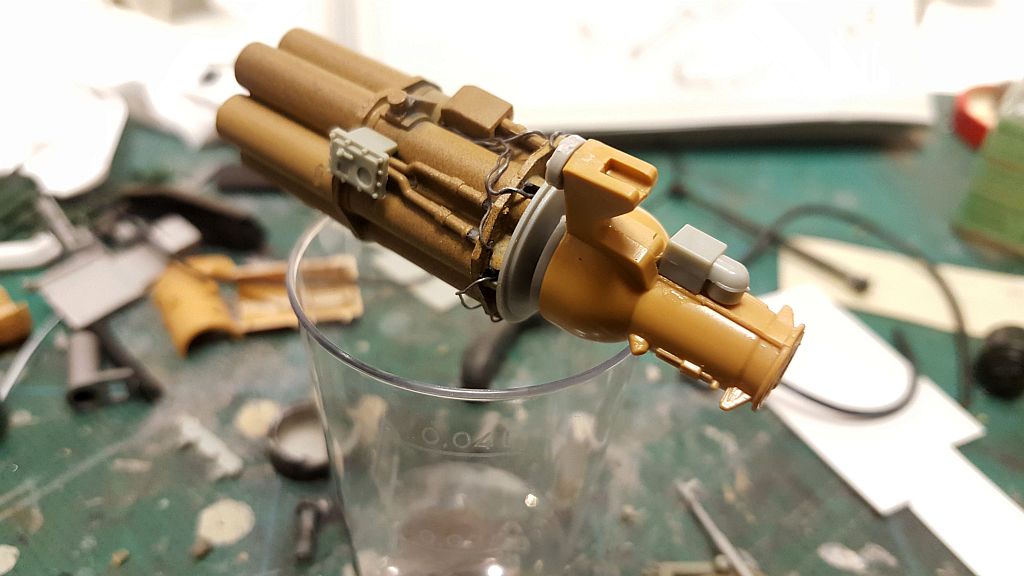
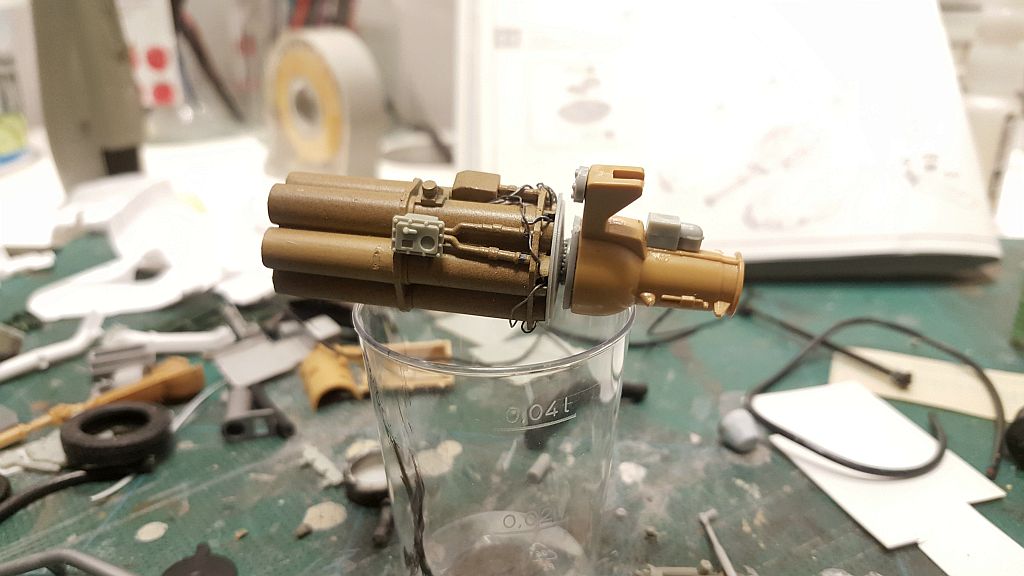
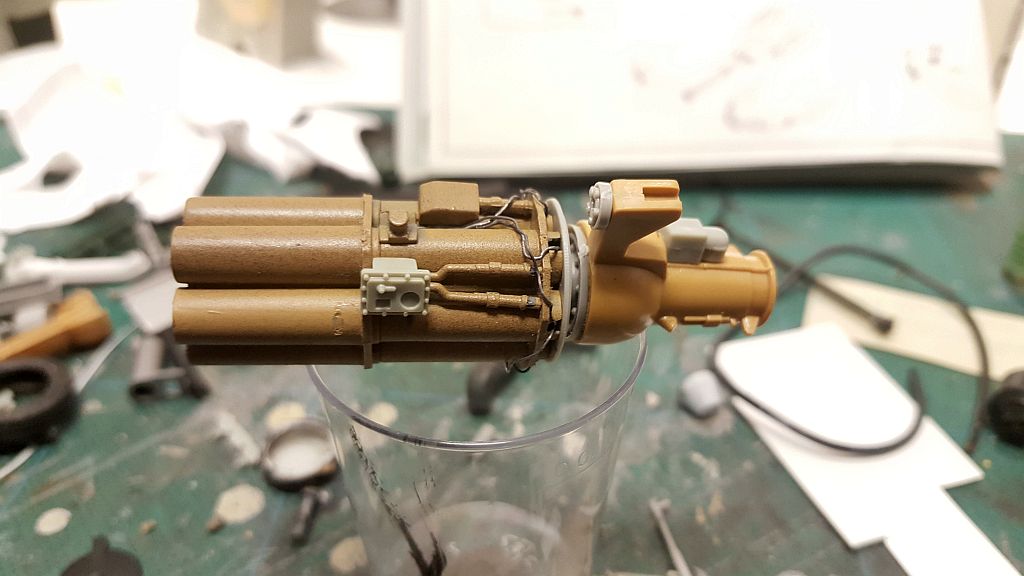
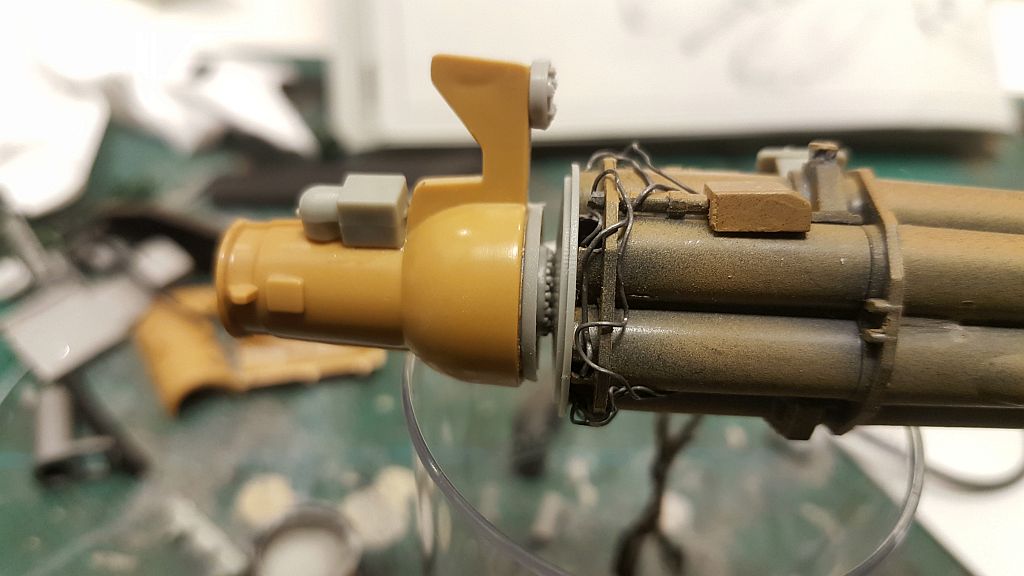
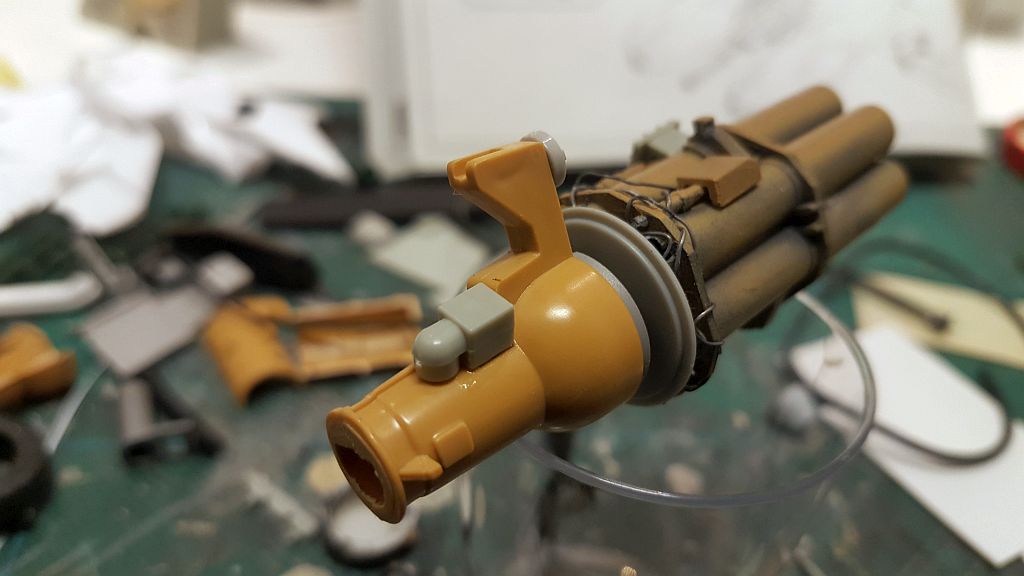
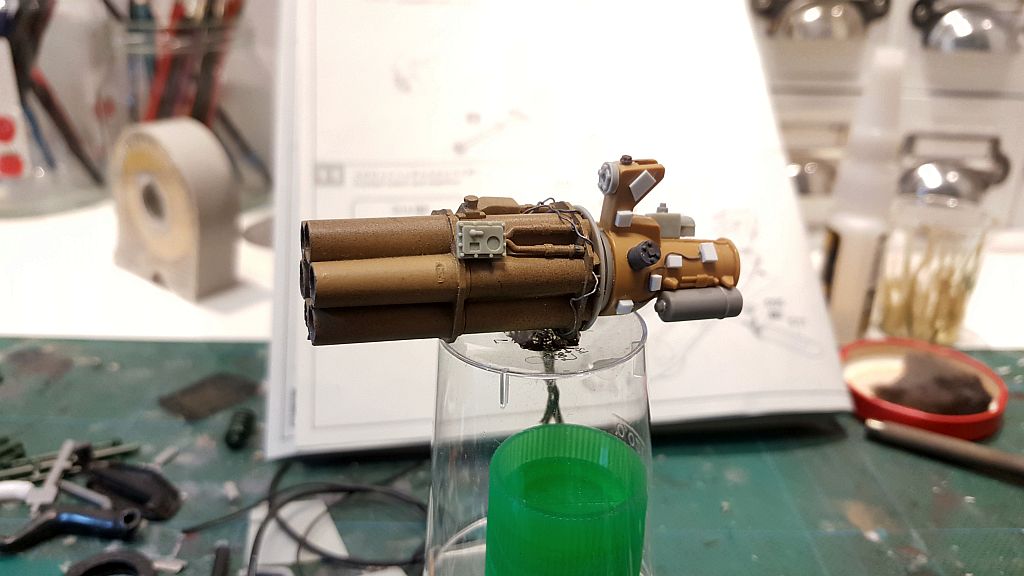
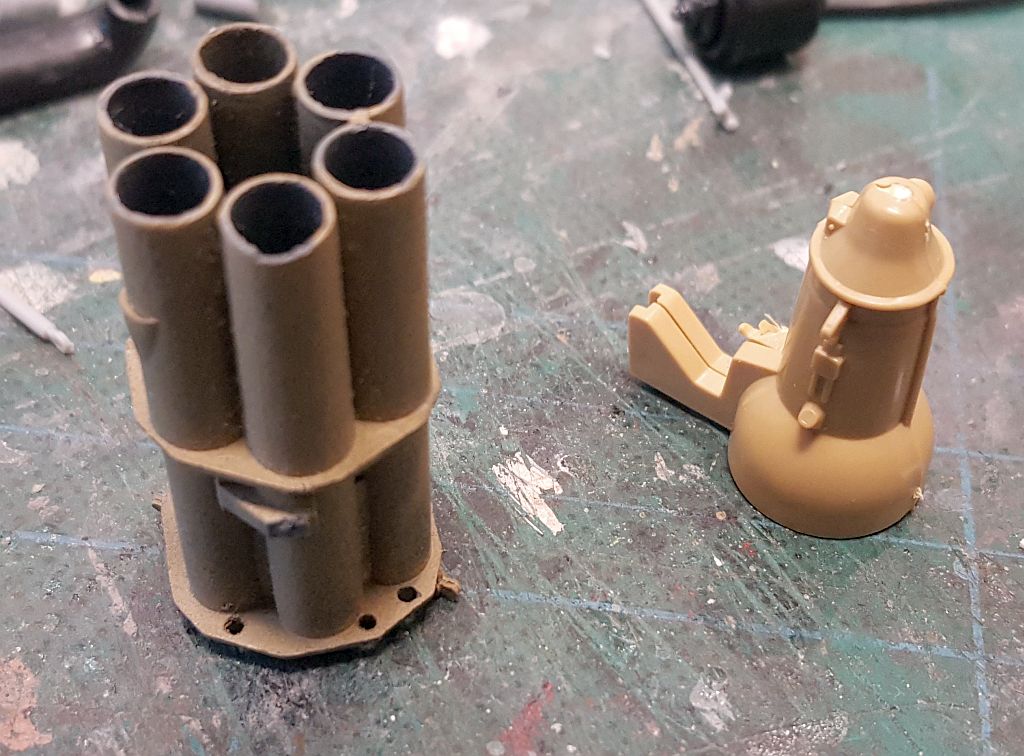
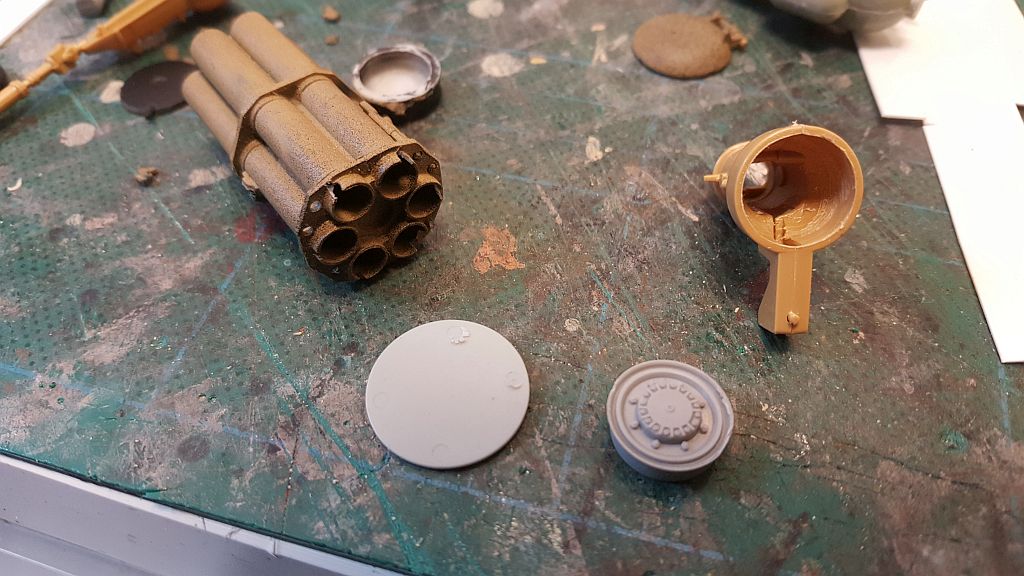
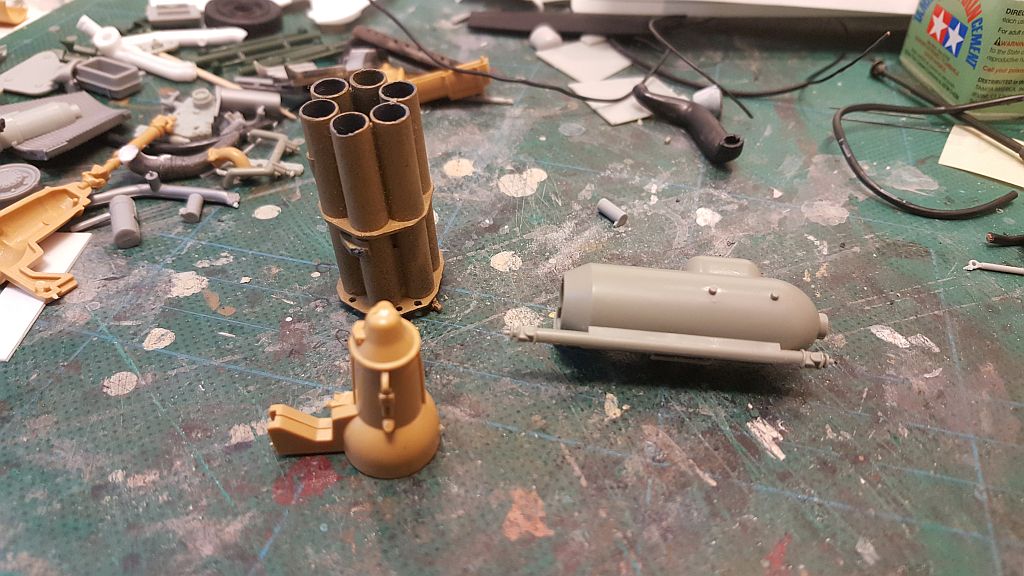
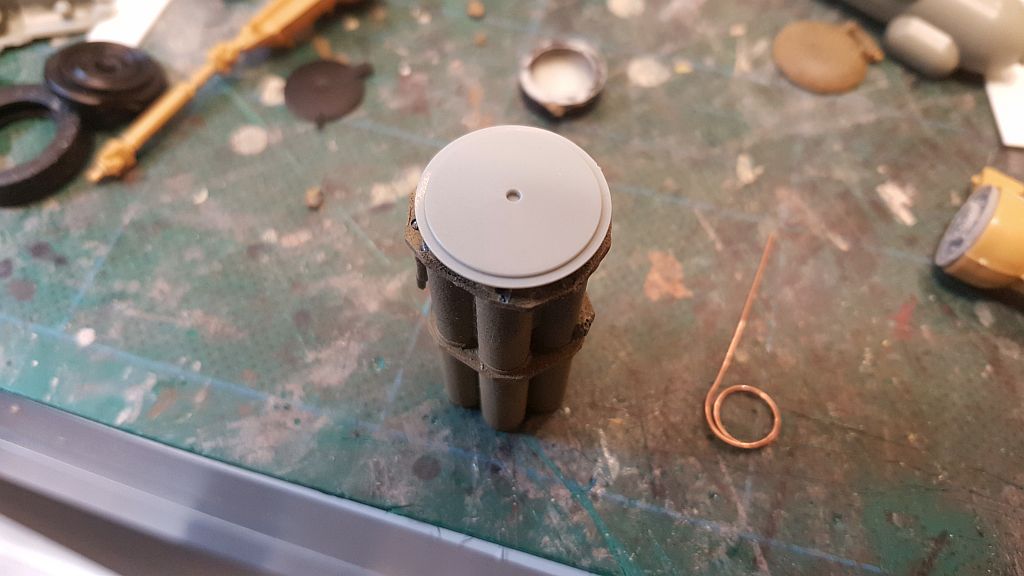
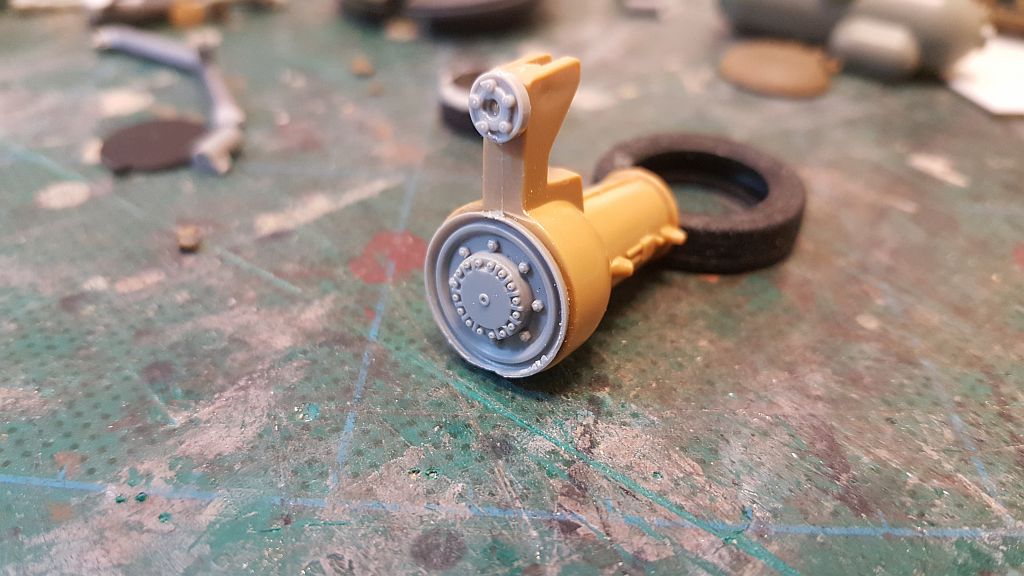
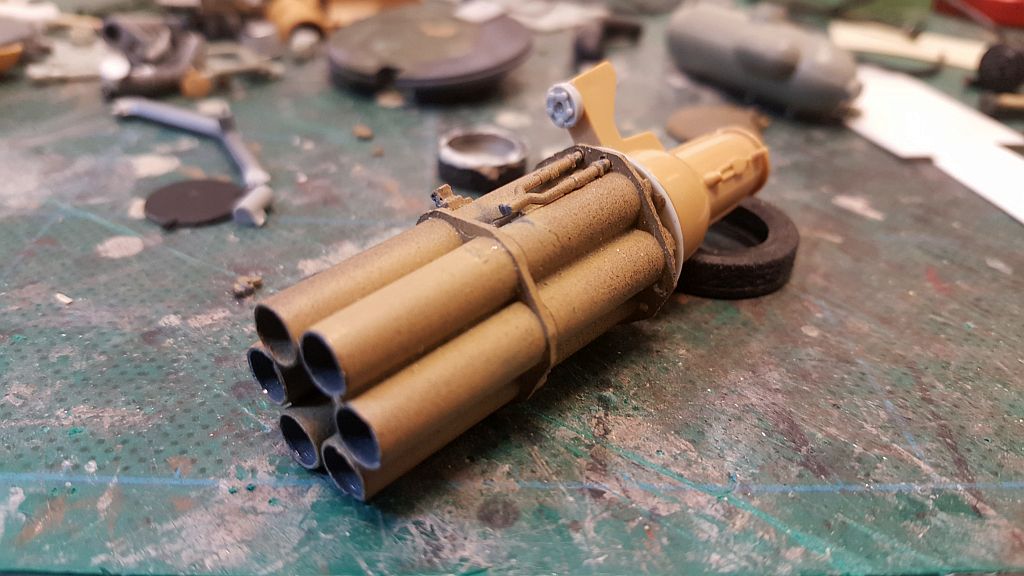
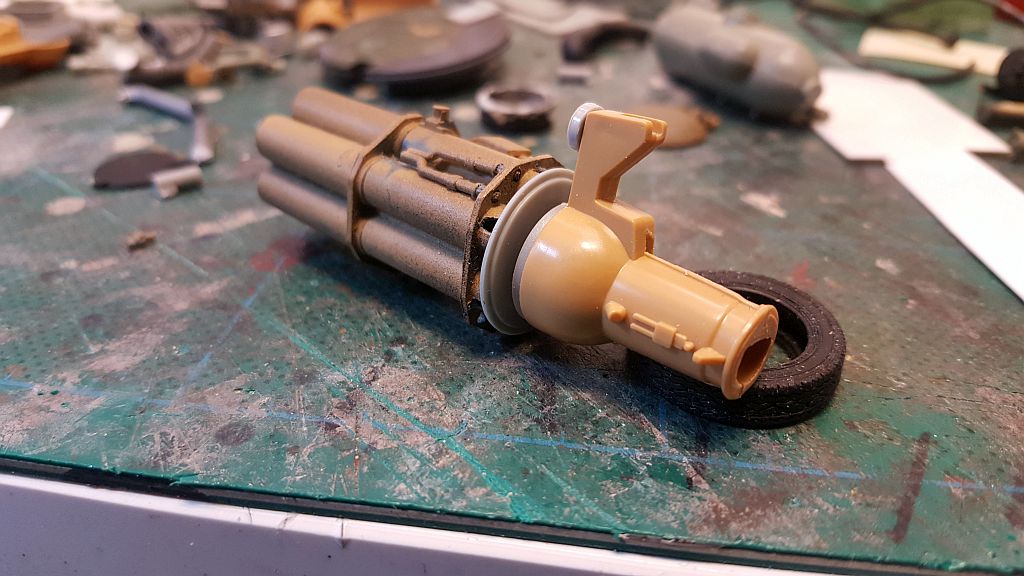
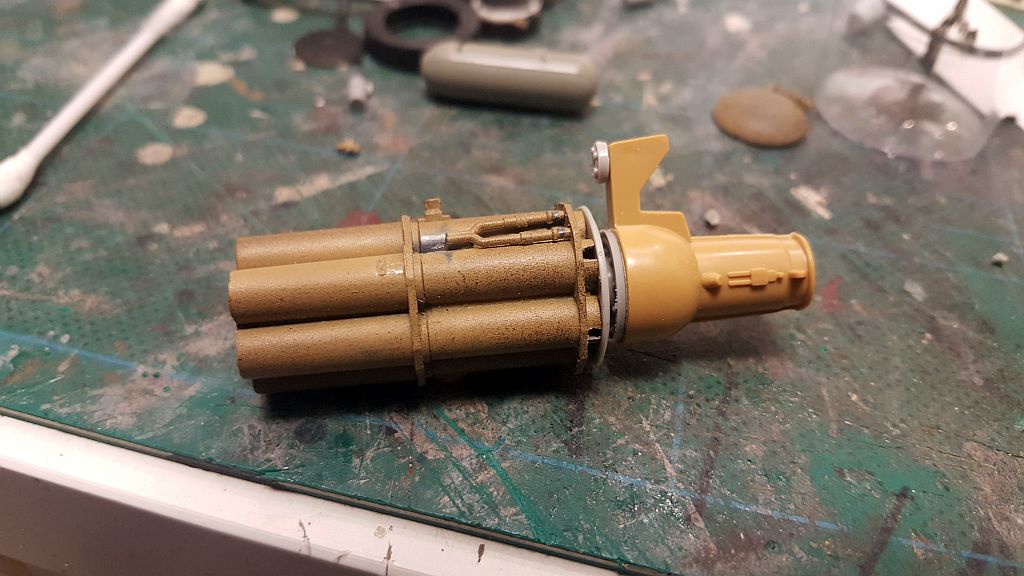
I decided to experiment with another artillery to give this craft a different look than the original gun that came with the kit. I managed to find an old WWII artillery gun in my 'Misc. Box'. So I devised a mount that will make it look the part. I call this, 'The Clunk Buster'. Just remember where you heard it first. 

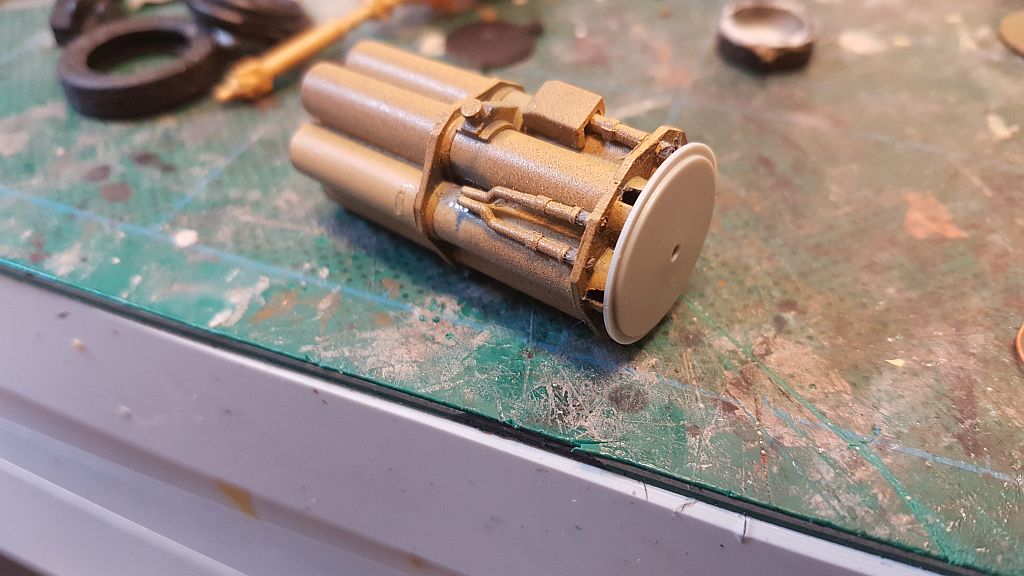
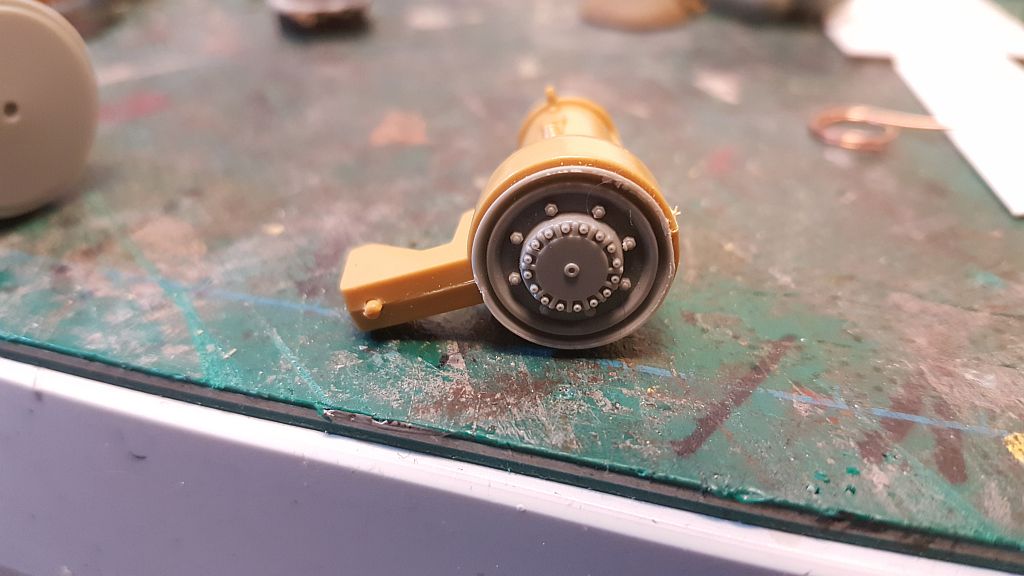
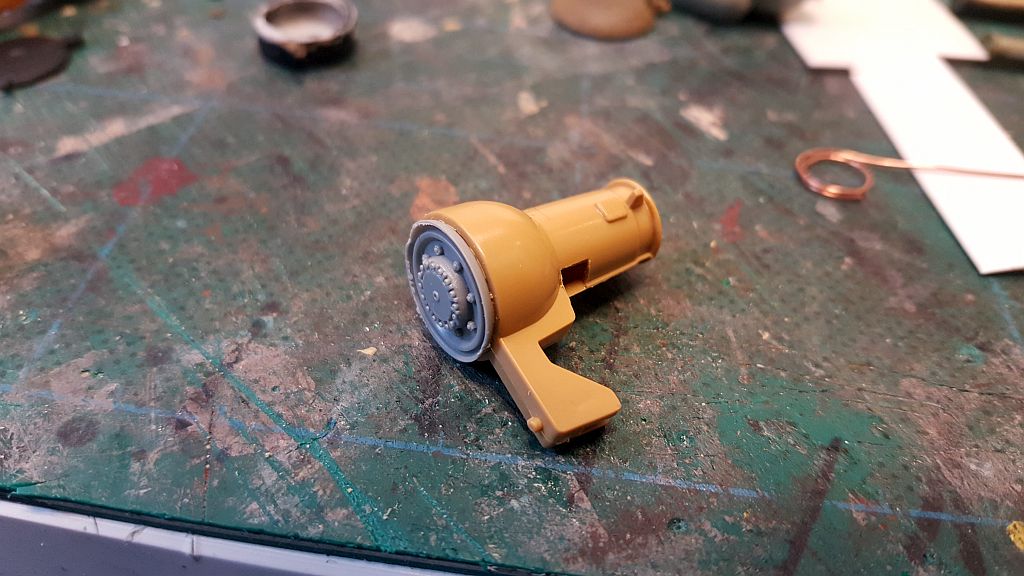
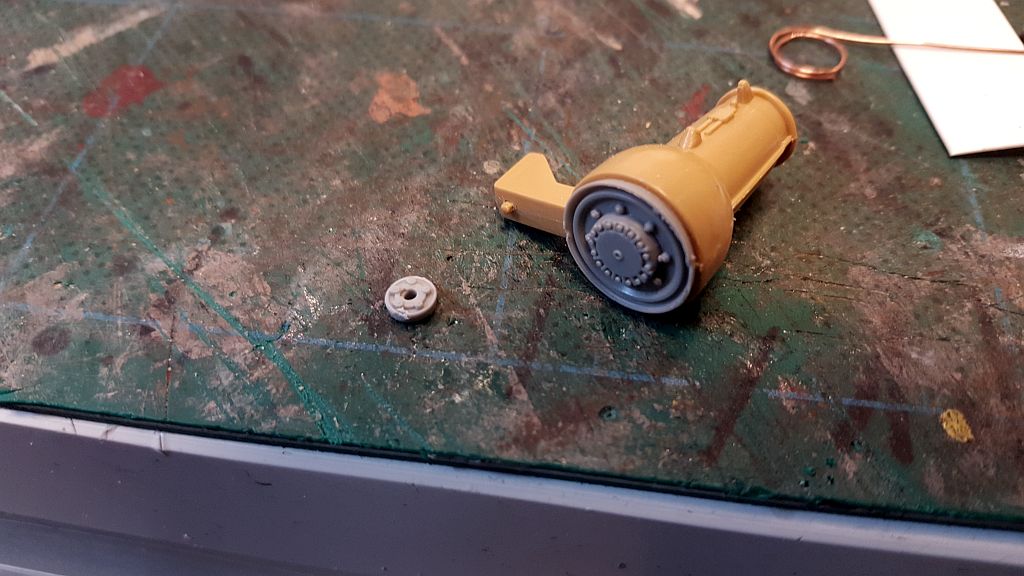


tiking- De slitna lastbilarnas mästare
Sida 2 av 4 •  1, 2, 3, 4
 Liknande ämnen
» Hasegawa's 1/20 - Maschinen Krieger FALKE
» Military 'modified' pickup
» Snowspeeder, Modified Incom T-47 Airspeeder
» Incom T-47 Modified Snowspeeder, Fine Molds 1/48
» My Scratch built/modified Armor Collection
» Military 'modified' pickup
» Snowspeeder, Modified Incom T-47 Airspeeder
» Incom T-47 Modified Snowspeeder, Fine Molds 1/48
» My Scratch built/modified Armor Collection
Sida 2 av 4
Behörigheter i detta forum:
Du kan svara på inlägg i det här forumet


